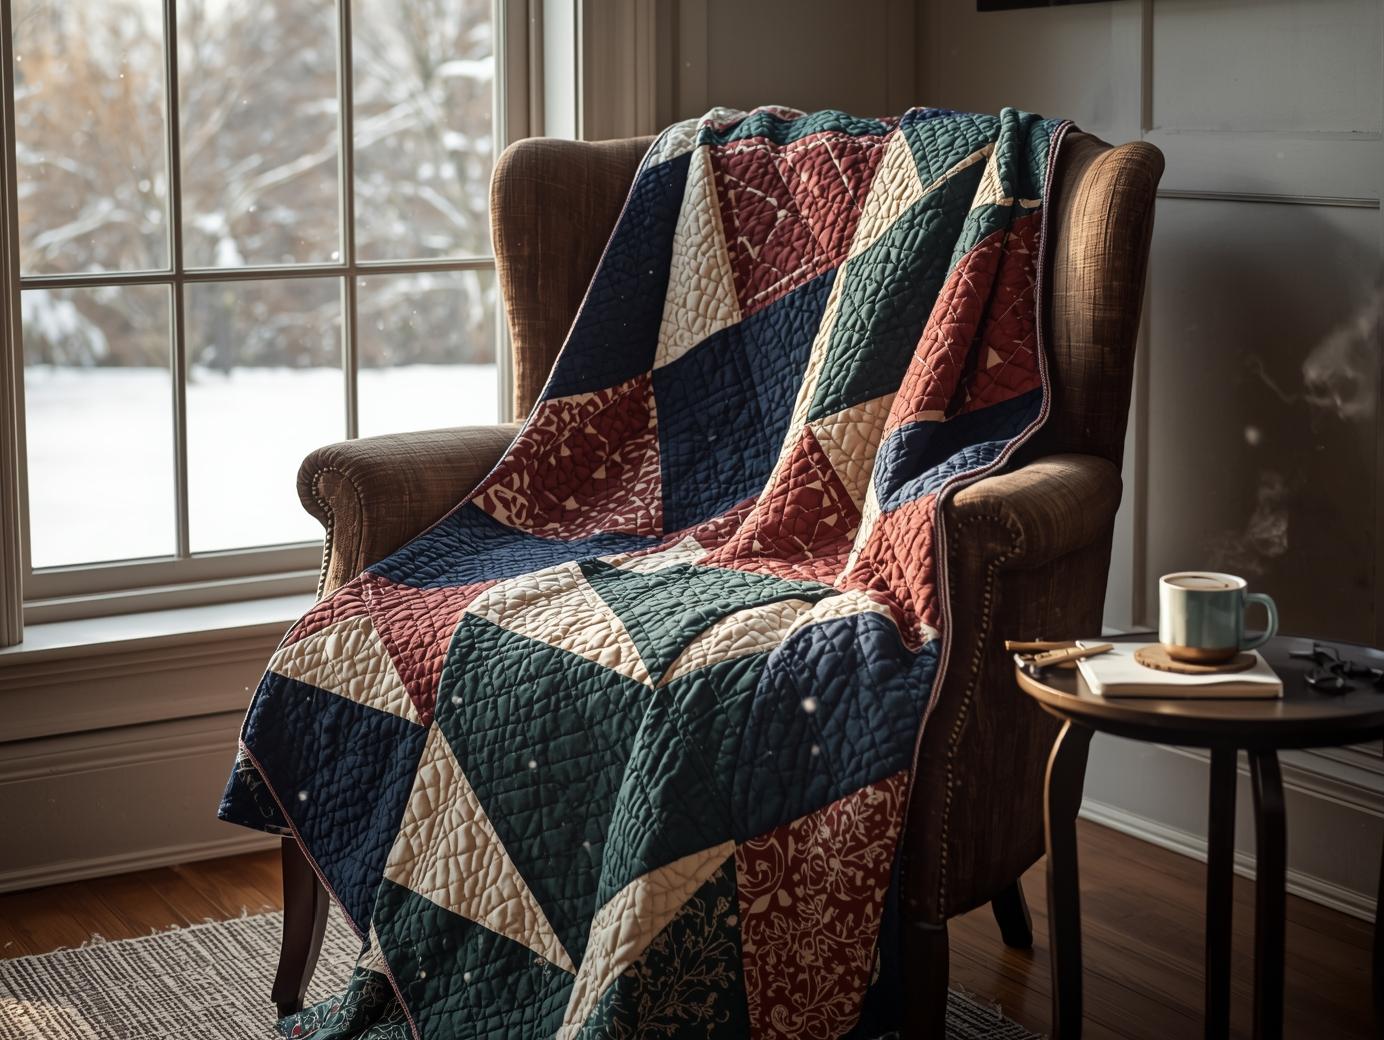
How to Sew the 3-Hour Winter Throw
Master the 3-Hour Method
The Speed-Piece Method
To finish a quilt in three hours, we skip the intricate 2-inch squares. Instead, focus on 10-inch "Jumbo Blocks." By using larger fabric cuts, you reduce the number of seams by 60%.
- Use a consistent 1/4" seam allowance for maximum speed and accuracy
- Chain-piece your rows to save thread and time
- Press seams open to reduce bulk and speed up quilting
Choosing Your Insulation
For a winter throw, the "fluff" matters. We recommend Wool Batting or High-Loft Polyester. These provide maximum warmth without significant weight, making the quilting process easier on your home sewing machine.
- Wool: Naturally temperature regulating, lightweight, and breathable
- High-Loft Polyester: Extra plush, maintains loft after washing, hypoallergenic
- Cotton: For a lighter throw, choose low-loft cotton batting
The Continuous Binding Hack
Don't let the binding slow you down. Use a 2.5-inch strip and sew it entirely by machine. By folding the binding to the front and decorative-stitching it down, you create a durable edge that looks professional and takes a fraction of the time of hand-finishing.
- Cut binding strips at a 45° angle for less bulk at corners
- Use a walking foot for even feeding
- Miter corners with a simple fold technique
Materials Checklist
Ready to Start Your Winter Project?
Our Winter Haven Collection was designed specifically to work with this 3-hour method. Everything you need, perfectly coordinated.
SHOP THE WINTER HAVEN COLLECTION